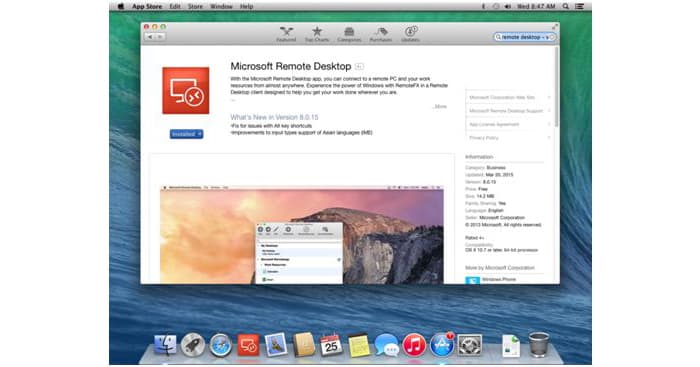
One Of The Common Problems For Users Of The MacOS Operating System Has Been Connecting To A VPS Server With A Macbook.
Remote Desktop For MacBook, Microsoft has completely solved this problem by providing an easy-to-use application tool for MACOS users. To learn how to work with this tool to connect to your VPS server with a MacBook, join us until the end of this post.
Before Microsoft’s Remote Desktop tool came into use, use VLC to connect to a VPS server on systems other than Windows, which was very easy to set up and use, but what made this Microsoft tool a replacement for VLC was That at any moment, the service on your server might stop and you can not use it.
That’s why Microsoft has released remote desktop software for most operating systems so that other users do not have to worry about server downtime with VLC.
Connect to VPS server in MACOS operating system
After purchasing a VPS host, completing your payment, and activating your VPS, you will receive an email containing the following:
- VPS server IP address (and port if available)
- user name
- password
1. First, you need to download and install the Remote Desktop software.

Download Remote Desktop software
2. Find Microsoft Remote Desktop in the Finder and run it.
File > New Finder Window > Favorites > Applications > Microsoft Remote Desktop .
3- After opening the software, click on the New option.
4. Enter the name, IP address of the VPS host (port address if available), username, and password that you received in the email in the fields below.
5. Double-click the new connection to connect to your VPS.
6. You will receive a warning about using the Certificate. Now click on ” show certificate. “
7. Select the “Always trust” checkbox to avoid being warned about your signed Certificate in the future.
8. Enter your MAC account username and password on the opened page to complete the Certificate installation.
9. For the security of your VPS, you will have to change the password on the first login. Please write down your new password so that you do not lose it or leave a password that you will not forget.
10. After installing the Certificate, you will be connected, and you will see the desktop screen of your server.