In this article, I intend to show you how to install and configure Active Directory Domain Services in Windows Server 2022. Windows Server 2022 is built on the powerful platform of Windows Server 2019. Of course, it comes with new security features compared to the previous version, which increases the strength of this version of Windows Server against advanced security threats. The advanced multi-layered security in Windows Server 2022 brings the comprehensive protection servers need today.
What is Active Directory Domain Service?
Active Directory, abbreviated as AD DS, is a technology that allows network administrators to create a central structure for managing their advanced Microsoft networks. This central structure includes user accounts, user groups, and many other objects. To install this powerful role on Windows Server 2022, you must install Windows Server 2022 and be ready.
Installing AD DS on Windows Server 2022
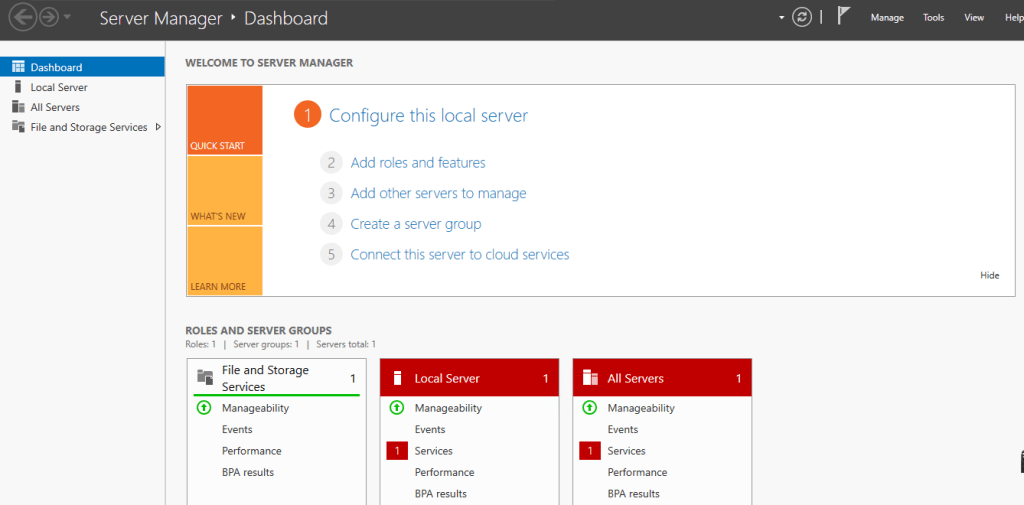
Stage A. Enter the Server Manager of your Windows server.

Step 2. After the Server Manager window opens, enter the Add Roles and Features section.
Step 3. Read the description in the opened window and click Next.
Step 4. In the Installation Type window, select Role-based or feature-based installation and click Next.
Step 5. In this section, you can see the list of desired servers, which is usually the same server that is working, select it and click on Next.
Step 6. In this step, select Active Directory Domain Services in the Roles list.
Step 7. After selecting the relevant option, a window will open as shown below; click on Add Features.
Step 8. There is no need to select an option in the Features window. Click on Next.
Step 9. Here is an explanation about Active Directory. Click on Next.
Step 10. Here is the final and confirm step. Click on Install.
At the end and after successful installation, the following window should be shown to you.
AD DS configuration
All the steps that have been done so far were related to the installation of the AD DS role. Now it’s time to configure or actually promote the domain controller.
Step 1. In the previous step’s final window of the installation, click on Promote this server to a domain controller. The following window will be displayed for you.
Select the Add a new forest option and enter your desired domain name in the Root domain name field. You are free to choose this name and you can put, for example, the name of your company. Click on Next.
In this section, you determine the Domain and Forest Functional Level. Here put it on top version. Enter the desired password for your AD DS in the Password and Confirm Password fields.
Step 2. In this step, which is the DNS option, no special settings are made and click on Next.
Step 3. On this page you will see the NETBIOS name of your domain, leave it unchanged and click Next.
Step 4. In this step, the storage paths related to the database and other information of the domain controller are shown. It is better to leave it in the default state. Click on Next.
Step 5. In this step, you will review the settings you have made so far. Check all the items once and click on Next.
Step 6. This step is the final step, a check is made on all the necessary prerequisites, if there are no errors, it allows you to install the domain controller. Click on Install and wait. After the installation is finished, your server will be restarted once.
After the installation is successful and your Windows Server is loaded, you will see the login page, login with your Administrator user and password.
After entering your Windows, enter Server Manager again and select Active Directory Users and computers from the tools menu.
Your installation has been completely successful and in this window you can create your user accounts and manage objects in your Windows server.